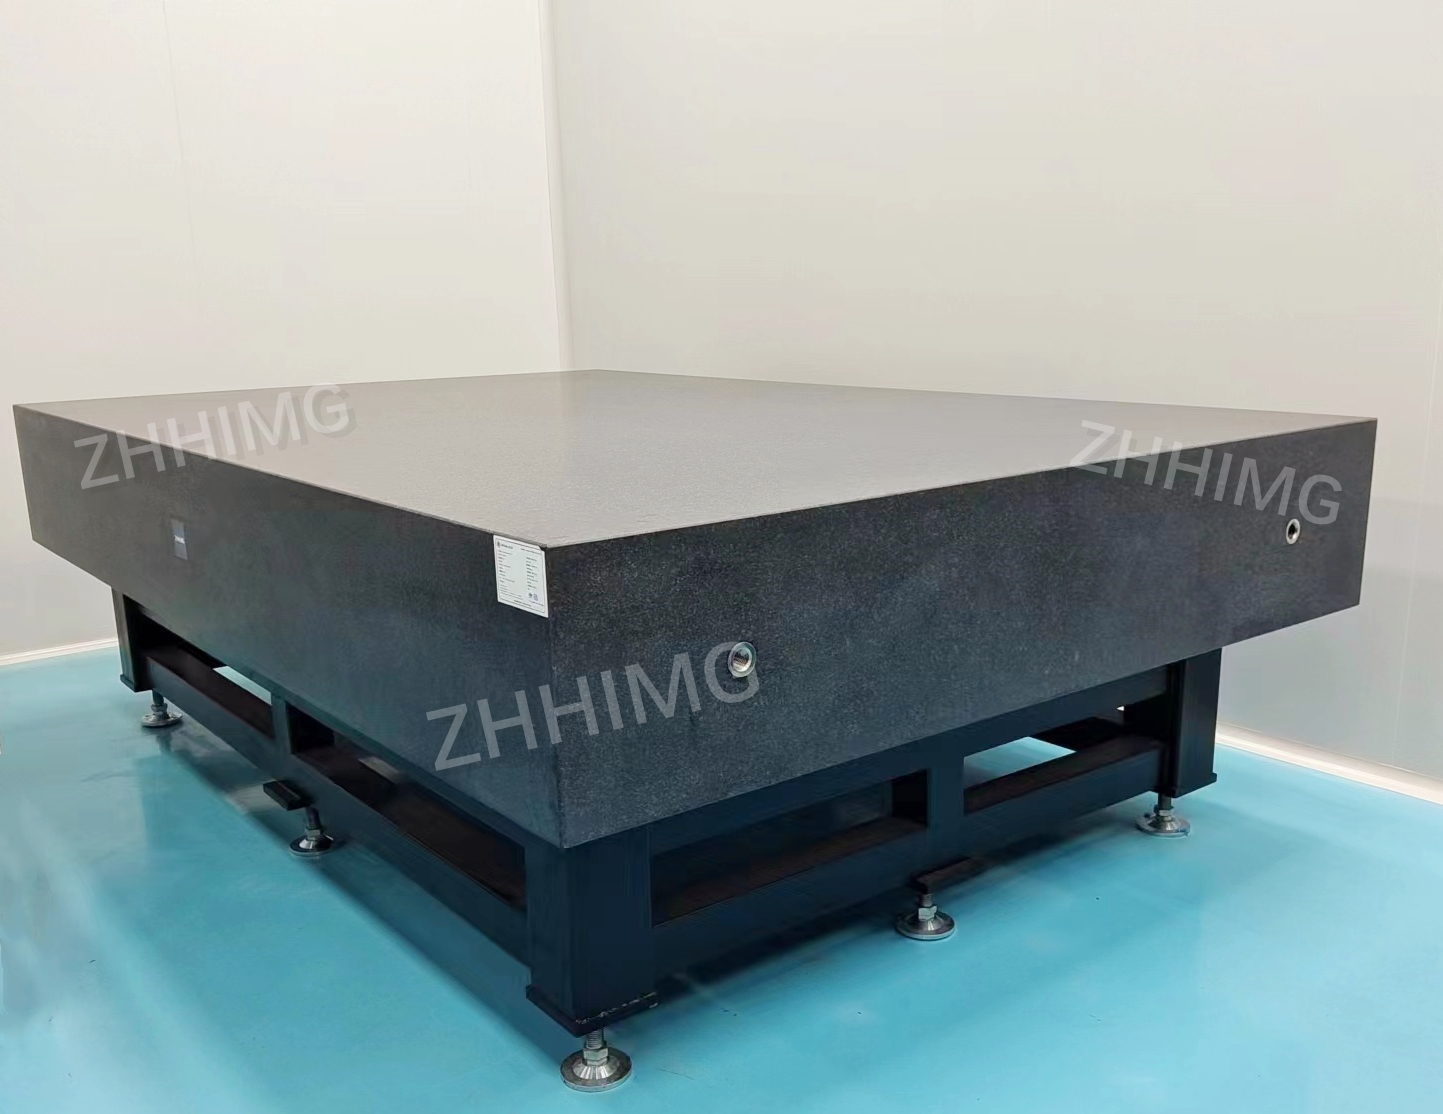
The surface finish of granite bases plays a vital role in determining measurement accuracy in various industrial and scientific applications. Granite is widely used to manufacture precision measurement tools such as coordinate measuring machines (CMMs) and optical tables due to its inherent stability, rigidity and resistance to thermal expansion. However, the effectiveness of these tools is significantly affected by the quality of the granite surface finish.
Smooth and carefully prepared granite surfaces minimize imperfections such as scratches, dents, or irregularities that can cause measurement errors. When a measuring instrument is placed on a rough or uneven surface, it may not maintain consistent contact, causing readings to vary. This inconsistency can lead to inaccurate measurements, which can have knock-on effects on product quality and manufacturing processes.
In addition, surface finish affects the adhesion of measuring instruments. Finely machined surfaces provide better contact and stability, reducing the likelihood of movement or vibration during measurements. This stability is critical to achieving high accuracy, especially in applications requiring tight tolerances.
Additionally, surface finish affects how light interacts with granite, especially in optical measurement systems. Polished surfaces reflect light evenly, which is critical for optical sensors that rely on consistent light patterns to accurately measure dimensions.
In summary, the surface finish of the granite base is a key factor in measurement accuracy. A high-quality surface finish improves stability, reduces measurement errors and ensures reliable performance of precision instruments. Therefore, investing in appropriate surface finish technology is crucial for industries that require high precision and reliability in their measurement processes.
Post time: Dec-11-2024

