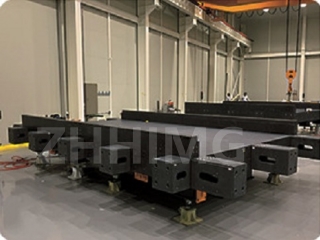
In the world of precision engineering and optical device manufacturing, the reliability of measurement tools is critical. Granite inspection plates are one of the unsung heroes of this field. These solid, flat surfaces are essential to ensuring the accuracy and reliability of optical equipment, which is critical in a variety of applications from scientific research to industrial manufacturing.
Granite inspection plates are made from natural granite, a material known for its exceptional stability and resistance to deformation. This stability is critical when measuring optical components, as even the slightest variation can result in significant errors in performance. Granite's inherent properties, including its low thermal expansion and high density, make it ideal for creating a reliable reference surface.
When testing or calibrating optical devices, they are placed on these granite plates, which provide a perfectly flat and stable base. This ensures that measurements are accurate and repeatable. The flatness of a granite surface is typically measured in microns to achieve the precision that is essential in optical applications. Any deviation in the surface can cause misalignment, which can affect the performance of lenses, mirrors, and other optical components.
Additionally, granite inspection plates are resistant to wear and tear, making them a long-term investment for laboratories and manufacturing facilities. Compared to other materials, they can withstand heavy loads and are less likely to chip or crack. This durability ensures that optical devices can be tested reliably over the long term, preserving the integrity of the measurement and the quality of the end product.
In conclusion, granite inspection plates play a vital role in ensuring the reliability of optical equipment. Their stability, precision, and durability make them indispensable tools in the pursuit of optical measurement accuracy, ultimately contributing to technological advancement and innovation in various fields.
Post time: Jan-08-2025

