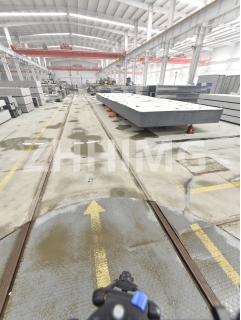
A granite base is a crucial component of image processing apparatus products. It provides a sturdy and level foundation for the apparatus, which ensures the accuracy and precision of its measurements. However, not all granite bases are created equal. Assembling, testing, and calibrating a granite base requires meticulous attention to detail and a careful approach. In this article, we will explore the steps involved in assembling, testing, and calibrating a granite base for an image processing apparatus product.
Step1: Cleaning the Granite Base
The first step in assembling a granite base is to clean it thoroughly. Granite bases are prone to collecting dust and debris, which can affect their accuracy and precision. Use a clean, soft cloth dampened with water and a mild soap solution to wipe down the granite surface. Rinse the cloth with clean water, then wipe down the surface again to remove any soap residue. Allow the granite base to air dry completely before proceeding to the next step.
Step 2: Assembling the Granite Base
Once the granite base is clean and dry, it is time to assemble the components. Granite bases usually consist of a main support structure, leveling feet, and mounting screws. Begin by attaching the leveling feet to the bottom of the main support structure. Use a spirit level to ensure that the feet are level and adjust as necessary. Once the feet are attached, use the mounting screws to secure the base to the image processing apparatus product.
Step 3: Testing the Granite Base
After assembling the granite base, it is time to test its stability and accuracy. One way to do this is by measuring the flatness of the granite surface with a precision level. A precision level is a tool that measures the deviation of a surface from true level. Place the level on different parts of the granite surface and note any variations in level. If the surface is not level, adjust the leveling feet until it is level.
Another way to test the accuracy of the granite base is to perform a repeatability test. This involves taking multiple measurements of a known distance or angle and comparing the results. If the results are consistent and repeatable, then the granite base is accurate and reliable.
Step 4: Calibrating the Granite Base
Calibrating the granite base involves setting it up for use with the image processing apparatus product. This includes adjusting the mounting screws to ensure that the apparatus is level and aligned with the base. It also involves setting up any calibration tools or reference points that are necessary for accurate measurements. Consult the manufacturer's instructions for specific calibration procedures for your image processing apparatus product.
In conclusion, assembling, testing, and calibrating a granite base for an image processing apparatus product is a critical process that requires careful attention to detail and a precise approach. By following the steps outlined in this article, you can ensure that your granite base provides a sturdy and accurate foundation for your apparatus, which will result in accurate and reliable measurements.
Post time: Nov-22-2023

