Introduction
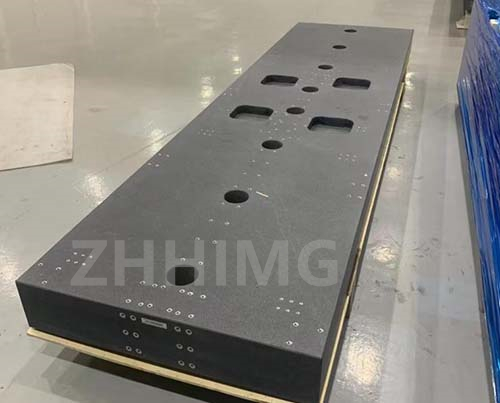
Granite XY tables are highly precise and highly stable machines used in the manufacturing industry for precision measurement, inspection, and machining. The accuracy of these machines is based on the precision of the manufacture, assembly, testing and calibration process. In this article, we will provide a step-by-step guide on how to assemble, test, and calibrate granite XY table products.
Assembly
The first step in assembling a granite XY table is to read the instruction manual thoroughly. Granite XY tables have several components, and it is essential to understand the parts, their functions, and their location to avoid errors during assembly.
The next step is to inspect and clean the components before assembly. Inspect all the parts, especially the linear guides, ball screws, and motors, to ensure that they are not damaged or contaminated. After inspecting, use a lint-free cloth and a solvent to clean all parts.
Once all the components are clean, align and install the linear guides and ball screws carefully. Tighten the screws firmly but not excessively to ensure that the thermal expansion of the granite does not cause any deformation.
After installing the ball screws and linear guides, attach the motors and ensure they are in proper alignment before tightening the screws. Connect all the electrical wires and cables, ensuring they are correctly routed to avoid any interference.
Testing
Testing is an essential part of the assembly process for any type of machine. One of the most critical tests for a granite XY table is the backlash test. Backlash refers to the play, or looseness, in the motion of a machine part due to the gap between contacting surfaces.
To test for backlash, move the machine in the X or Y direction and then quickly move it in the opposite direction. Observe the machine's movement for any slack or looseness, and note the difference in both directions.
Another important test to perform on a granite XY table is the squareness test. In this test, we check that the table is perpendicular to the X and Y axes. You can use a dial gauge or laser interferometer to measure deviations from the right angle, and then adjust the table until it is perfectly square.
Calibration
The calibration process is the final step in the assembly process for a granite XY table. Calibration ensures that the machine’s accuracy meets the necessary requirements for the intended application.
Start by calibrating the linear scale using a gauge block or a laser interferometer. Zero the scale by moving the table to one side, and then adjust the scale until it correctly reads the gauge block or the laser interferometer.
Next, calibrate the ball screw by measuring the travel distance of the machine and comparing it to the distance indicated by the scale. Adjust the ball screw until the travel distance accurately matches the distance indicated by the scale.
Lastly, calibrate the motors by measuring the speed and accuracy of motion. Adjust the motor speed and acceleration until it moves the machine precisely and accurately.
Conclusion
Granite XY table products require precision assembly, testing, and calibration to achieve high levels of accuracy and stability. Assemble the machine carefully and inspect and clean all components before installation. Perform tests such as backlash and squareness to ensure the machine is accurate in all directions. Lastly, calibrate the components, including the linear scales, ball screw, and motors, to the necessary accuracy requirements for the intended application. By following these steps, you can ensure your granite XY table machine is precise, reliable, and stable.
Post time: Nov-08-2023

