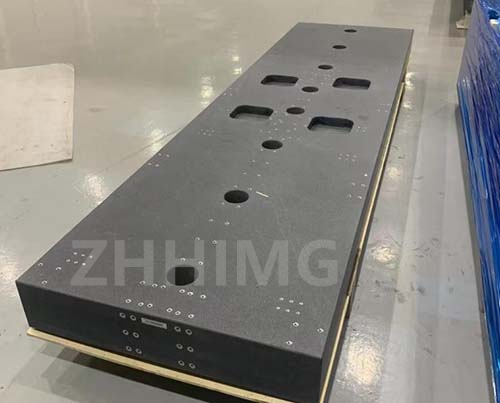
Precision granite assembly is an important component of an LCD panel inspection device and is responsible for providing a stable and accurate platform for measurements. The proper assembly, testing, and calibration of this component are critical to ensure the accuracy of the overall inspection device. In this guide, we will provide step-by-step instructions on how to assemble, test, and calibrate a precision granite assembly for LCD panel inspection devices.
Step 1: Assembling the Precision Granite Assembly
The precision granite assembly consists of three main components: the granite base, the granite column, and the granite top plate. Follow the steps below to assemble the components:
1. Clean the surfaces of the granite components thoroughly to remove any dirt, dust, or debris.
2. Place the granite base on a flat and level surface.
3. Insert the granite column into the center hole of the base.
4. Place the granite top plate on top of the column and align it carefully.
Step 2: Testing the Precision Granite Assembly
Before testing the precision granite assembly, make sure that it is properly assembled and leveled. Follow the steps below to test the assembly:
1. Use a precision level to check the levelness of the granite top plate.
2. Use a dial indicator to measure any deflection of the granite top plate under a specified load. The allowable deflection must be within the specified tolerance.
Step 3: Calibrating the Precision Granite Assembly
Calibrating the precision granite assembly involves checking and adjusting the accuracy of the assembly. Follow the steps below to calibrate the assembly:
1. Use a square to check the squareness of the granite top plate to the granite column. The allowable deviation must be within the specified tolerance.
2. Use a precision gauge block to check the accuracy of the granite assembly. Place the gauge block on the granite top plate, and measure the distance from the gauge block to the granite column using a dial indicator. The allowable deviation must be within the specified tolerance.
3. If the tolerance is not within the required range, adjust the assembly by shimming the granite column, or adjusting the leveling screws on the base until the tolerance is met.
By following the steps above, you can assemble, test and calibrate the precision granite assembly for your LCD panel inspection device. Remember, the accuracy of the inspection device depends on the accuracy of its components, so take the time to ensure that the precision granite assembly is properly assembled and calibrated. With a well-calibrated device, you can ensure reliable and accurate measurements of LCD panels, leading to high-quality products and happy customers.
Post time: Nov-06-2023

