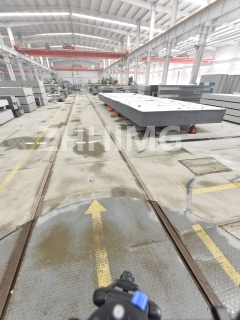
Precision granite rails are critical equipment used in industrial and research applications. The rails provide a flat and straight surface for the measurement and inspection of parts.
Assembling precision granite rails is an intricate process that requires careful attention to detail. The following steps can help in the assembly process:
Step 1: Check the Parts
Before assembling the rail, it's essential to ensure all parts and hardware are in good condition. Scrutinize all parts to ensure that they are straight, flat and free from chips and blemishes that can affect the accuracy of the rail.
Step 2: Fit the Base Plate
The base plate is the foundation on which the rail rests. Align the base plate correctly on a stable surface and mount the rail on the base plate using the appropriate fixtures and screws.
Step 3: Mount the Rails
Once the base plate is secured, the next step is to mount the rails. Place the rails on the base plate and secure them using the right screws. Ensure the rails are aligned and levelled correctly to prevent unnecessary strain on the rail during usage.
Step 4: Fix the Air Release Valves and Bubble Levels
Air release valves and bubble levels ensure that the rails maintain their accuracy on any surface. Fix these elements to the rail using screws, ensuring they are precisely levelled.
Step 5: Install the Connective Nuts and Bolts
Connective nuts and bolts play a vital role in assembling precision granite rails. Install these components to secure the rail's two or more sections in place.
After assembling the precision granite rail, testing and calibration become critical steps in ensuring its accuracy. These steps are as follows:
Step 1: Test Flatness
The first step in testing the precision granite rail is to assess its flatness. Use a standard gauge to check the flatness of the rails' surface, ensuring it meets industry standards.
Step 2: Evaluate Parallelism
Parallelism refers to the accuracy of the vertical and horizontal measurement. Use a dial gauge or laser measuring tool to ensure that the rails are parallel to each other.
Step 3: Test the Rails’ Straightness
Straightness testing is crucial as it determines the accuracy of the measurement taken. Use a straight edge and a light source to check for any curve on the rail.
Step 4: Calibrate the Rails
Calibration involves adjusting and fine-tuning the rail to meet specific industry standards. Adjust the screws until the rail’s variance is within the allowable tolerance.
In conclusion, assembling, testing, and calibrating Precision Granite Rails is a precise and delicate process that requires the utmost care, attention, and expertise. Follow the above steps, and with proper care and maintenance, your precision granite rail will provide you with accurate measurements for years to come.
Post time: Jan-31-2024

