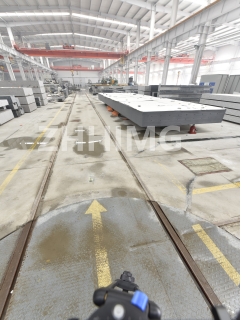
Granite assemblies are commonly used in the manufacturing process of semiconductors due to their high precision, stability, and hardness. However, over time, these assemblies may become damaged due to wear and tear, which can affect their accuracy and reliability. In this article, we discuss the process of repairing the appearance of damaged granite assemblies and recalibrating their accuracy.
Tools and materials required:
- Granite repair kit
- Sandpaper (800 grit)
- Polishing compound
- Water
- Drying towel
- Vacuum cleaner
- Calibrator
- Measuring instruments (e.g. micrometer, dial gauge)
Step 1: Identify the extent of the damage
The first step in repairing a damaged granite assembly is to identify the extent of the damage. This may involve a visual inspection to look for cracks, chips, or scratches on the surface of the granite. It is also important to check the flatness and straightness of the assembly using a calibrator and measuring instruments.
Step 2: Clean the surface of the granite
Once the damage has been identified, it is important to clean the surface of the granite thoroughly. This involves using a vacuum cleaner to remove any dust or debris from the surface, followed by wiping it down with a damp towel. If necessary, soap or mild cleaners can be used to remove stubborn stains or marks.
Step 3: Repair any cracks or chips
If there are any cracks or chips on the surface of the granite, they will need to be repaired before the calibration process can begin. This can be done using a granite repair kit, which typically contains a resin-based material that can be poured into the damaged area and allowed to dry. Once the repair material has dried, it can be sanded down using fine grit sandpaper (800 grit) until it is flush with the rest of the surface.
Step 4: Polish the surface of the granite
After any repairs have been made, the surface of the granite assembly will need to be polished in order to restore its appearance and smoothness. This can be done using a polishing compound, water, and a polishing pad. Apply a small amount of polishing compound to the pad, then buff the surface of the granite in circular motions until it becomes smooth and shiny.
Step 5: Recalibrate the accuracy of the assembly
Once the surface of the granite assembly has been repaired and polished, it is important to recalibrate its accuracy. This involves using a calibrator and measuring instruments to check the flatness and straightness of the assembly, as well as its overall precision. Any adjustments can be made using shims or other mechanisms to ensure that the assembly is operating at its optimal level of accuracy.
In conclusion, repairing the appearance of a damaged granite assembly and recalibrating its accuracy is a vital process in semiconductor manufacturing. By following these steps, you can restore the performance of your assembly and ensure that it continues to meet the needs of your manufacturing process.
Post time: Dec-06-2023

