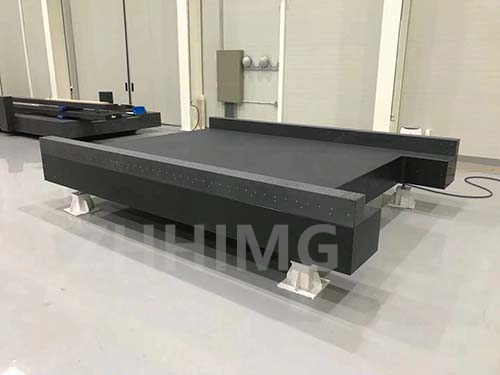
Granite precision apparatus assembly is a crucial tool used in various industries including construction, manufacturing, and machining. It provides accurate measurements, making it a vital component in ensuring quality and precision in the production process. However, damage to the granite precision apparatus assembly can lead to inaccurate measurements which can, in turn, lead to machine failure, unsafe working conditions, and a compromised final product. Therefore, it is vital to repair the appearance of the damaged granite precision apparatus assembly and recalibrate its accuracy as soon as possible.
Here are some steps to follow when repairing the appearance and recalibrating the accuracy of the damaged granite precision apparatus assembly:
1. Inspect the Damage
Before proceeding with any repair works, it is crucial to identify all the damaged parts of the granite precision apparatus assembly. Check for cracks on the granite surface, damage to the brackets, and any other defects that may affect the accuracy of the tool.
2. Cleaning
After identifying the damage, clean the granite surface to remove any dust, debris, or contaminants. Use a clean cloth, warm water, and mild soap to clean the surface. Avoid using abrasive cleaners or rough materials, such as steel wool, as they can damage the surface further.
3. Repairing the Damage
To repair the cracks on the granite surface, use an epoxy resin filler. The filler should be of the same colour as the granite to ensure that the repaired areas blend seamlessly with the original surface. Apply the epoxy resin according to the manufacturer's instructions, then leave it to cure completely. Once cured, sand the filled areas until they are smooth and level to match the surface of the rest of the granite.
If the brackets are damaged, consider replacing them if the damage is severe. Alternatively, you can weld the brackets back in place if the damage is minor. Ensure that the repaired brackets are sturdy and will hold the granite assembly securely in place.
4. Recalibrating the Accuracy
After repairing the damaged granite precision apparatus assembly, recalibrate its accuracy to ensure that it provides accurate measurements. Recalibration involves comparing the tool's readings to a standard known measurement, and then adjusting the tool until it gives accurate readings.
To recalibrate, you will need a set of calibrated weights with known masses, a spirit level, a micrometer, and a dial gauge. Start by adjusting the granite assembly's level using the spirit level. Next, use the micrometer to check the flatness of the granite surface. Make sure that it is entirely flat and level.
Next, place the calibrated weights on the granite's surface, and use the dial gauge to take height readings. Compare the readings to the known weight measurements and adjust the granite assembly accordingly. Repeat this process until the readings match the known measurements.
In conclusion, repairing the appearance of the damaged granite precision apparatus assembly is crucial to ensure that it provides accurate measurements. Follow the above steps to repair and recalibrate your tool, and get back to work with confidence, knowing that your tool is accurate and reliable.
Post time: Dec-22-2023

