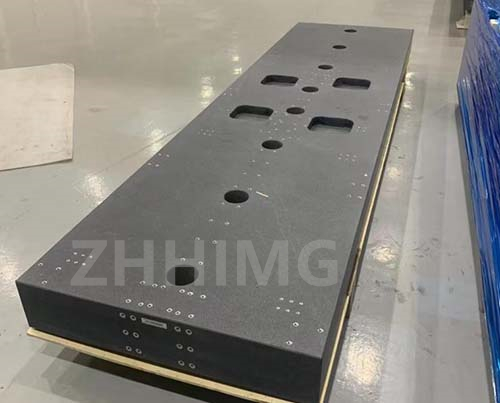
The Coordinate Measuring Machine (CMM) is a highly sophisticated piece of equipment that is used in a variety of industries for precision measurement. The accuracy of the measurements depends largely on the quality of the CMM components, particularly the granite spindle and workbench. Achieving a dynamic balance between these two components is essential for accurate and consistent measurements.
The granite spindle and workbench are the two most important components of the CMM. The spindle is responsible for holding the measuring probe steady while the workbench provides a stable platform for the object being measured. Both the spindle and the workbench need to be perfectly balanced to ensure that measurements are consistent and accurate.
Achieving a dynamic balance between the granite spindle and workbench involves several steps. First, it is important to select high-quality granite for both components. Granite is an ideal material for these parts because it is dense, stable, and has a low coefficient of thermal expansion. This means that it won't expand or contract significantly with changes in temperature, which can cause inaccuracies in measurements.
Once the granite components have been selected, the next step is to ensure that they are machined to precise specifications. The spindle should be made as straight and perfect as possible to minimize any wobble or vibration. The workbench should also be machined to a high level of precision to ensure that it is perfectly flat and level. This will help to minimize any variation in measurements due to uneven surfaces.
After the granite components have been machined, they must be assembled with care. The spindle should be mounted so that it is perfectly straight and aligned with the workbench. The workbench should be securely fastened to a sturdy base to prevent any movement during measurements. The entire assembly should be carefully checked for any signs of wobble or vibration and adjustments made as necessary.
The final step in achieving a dynamic balance between the granite spindle and workbench is to test the CMM thoroughly. This includes checking the accuracy of measurements at different points on the workbench and ensuring that there is no drift over time. Any issues that are identified during testing should be addressed promptly to ensure that the CMM is performing at its best.
In conclusion, achieving a dynamic balance between the granite spindle and workbench is essential for accurate and consistent measurements on a CMM. This requires careful selection of high-quality granite, precision machining, and careful assembly and testing. By following these steps, CMM users can ensure that their equipment is performing at its best and delivering accurate and reliable results.
Post time: Apr-11-2024

