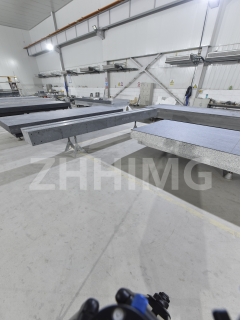
Granite inspection plates are commonly used in precision processing devices like coordinate measuring machines or specialized jigs and fixtures. While granite is known for its durability and stability, there can still be defects in the plates that can affect their precision and accuracy. In this article, we'll examine some of the common defects that can occur in granite inspection plates, and how they can be avoided or corrected.
One common defect in granite inspection plates is surface flatness irregularities. Even though granite is a dense and hard material, manufacturing and handling processes can still result in minor variations in flatness that can affect measurement accuracy. These irregularities can be caused by a variety of factors, including uneven polishing, thermal expansion or contraction, or warping due to improper storage or handling.
Another issue that can arise with granite inspection plates is surface scratches or blemishes. While scratches may seem small, they can have a significant impact on measurement accuracy, especially if they affect the surface's flatness. These scratches may result from improper handling, such as dragging heavy equipment across the plate, or from materials accidentally dropped on the surface.
Granite inspection plates are also susceptible to chipping or cracking. This can happen if the plates are dropped or if they undergo sudden thermal shock. A damaged plate can compromise the precision of the measuring equipment it's used with, and may even render the plate unusable.
There are several measures you can take to avoid or correct these defects. For surface flatness issues, it's important to ensure that the plates are stored and handled properly, and that they undergo regular maintenance, including reconditioning, realignment, and calibration. For scratch or blemish problems, careful handling and cleaning practices can help to prevent further damage, and specialized repairs can be undertaken to remove or lessen their appearance.
Chipping or cracking is more severe and requires either repair or replacement, depending on the extent of the damage. In some cases, plates may be reconditioned and repaired by grinding, lapping, or polishing. However, more severe damage, such as a complete fracture or warping, may require a complete replacement.
In conclusion, granite inspection plates are an essential part of precision processing devices, but they are not immune to defects. These defects, including flatness irregularities, surface scratches or blemishes, and chipping or cracking, can affect the accuracy and precision of measurement equipment. By taking steps to prevent and correct these defects, we can ensure that our inspection plates retain their precision and remain reliable tools for measuring and inspecting critical components.
Post time: Nov-28-2023

